Earthen Textures Thank You Card

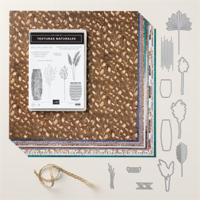
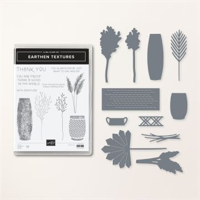
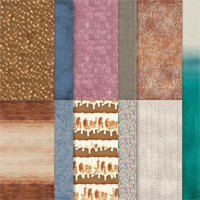
The Stampin’ Up! Earthen Textures card I made for you today is my take on a catalog card sample. The vase stamps for this set look like they add texture to the vases. The Earthen Elegance Designer Series paper is very versatile and will work well with other stamp sets. I like this set.
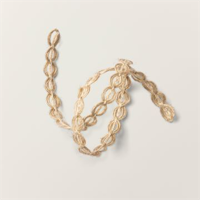
I went to use the natural wavy trim that comes with the suite, which I thought is what I ordered, only to discover I didn’t order it. So I used what I had on hand but really wished I had the Natural Wavy Trim to use. It would go so well with this paper. I hope you enjoyed this card as much as I enjoyed making and sharing it with you.
Instructions
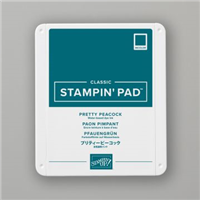
- Fold Pretty Peacock Cardstock in half on the score line and burnish with Bone Folder. This is your card base.
- Add Earthen Elegance DSP to card base with your favorite adhesive.
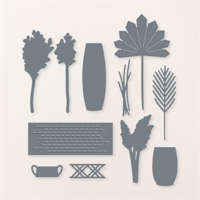
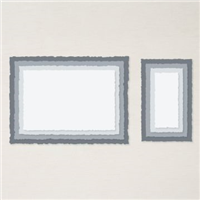
- Cut Very Vanilla Cardstock with the 2nd largest Deckled Rectangle Die. Embossed with the approximately 3” x 2” detail line die out of the Earthen Textures Dies mid way down on the right side of panel.
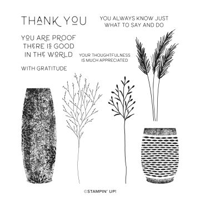
- Determine your vase positions and stamp one of the greenery stamps in Smoky Slate Ink, on the left side of the Very Vanilla panel, so it will be coming out of the vase.
- Wrap a piece of Copper Clay 3/8” Textured Ribbon around cardstock, attached to back of panel then adhere panel to card front.
- Adhere DSP strip to right side on Very Vanilla panel just below top of ribbon, leave 1” of left side with no adhesive on it.
- Cut one large vase and two smaller vases out of the DSP. I had cut the smaller vase one direction, with the dark on top of the lighter color, then turned the paper around to have the light on top of the dark up at the top. Cut one greenery die out of Misty Moonlight and the other out of Moody Mauve Cardstock.
- Tape the left side vase to card front with the DSP strip laying on top of it. Then tape tall vase in place and add the third vase using Mini Dimensionals. Now add a Glue Dot or a drop of glue under the loose end of the DSP strip to adhere it to vase. Tuck greenery under top of vases and adhere in place with a Glue Dot.
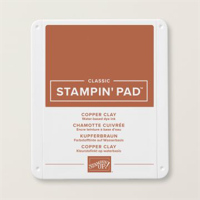
- Stamp greeting in Copper Clay Ink onto Very Vanilla Cardstock. Trim to 2-3/4” x 1/2”. Attach to card front with Mini Dimensionals.
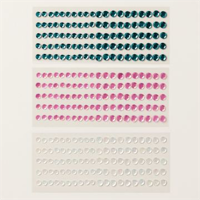
- Embellish with Adhesive-Backed Sequin Trio.
- The inside was finished by cutting the Very Vanilla Cardstock with the largest Deckled Rectangle. The saying was stamped in Pretty Peacock Ink. Vase was die cut out of the DSP and greenery is out of Moody Mauve Cardstock. Adhere greenery with a Glue Dot and then tape vase in place.
- For the envelope I stamped the feathery stamp with just a little of the stem in Moody Mauve Ink and then the shorter vase in Pretty Peacock Ink.
And now you have a beautiful card to brighten someone’s day. Happy Stamping!
Card Recipe
Cardstock:
- Pretty Peacock: 8-1/2” x 5-1/2”, scored at 4-1/4” (card base)
- Very Vanilla: 5” x 3-3/4” (front), 5-1/4” x 4” (inside), 3-1/4” x 1” (greeting)
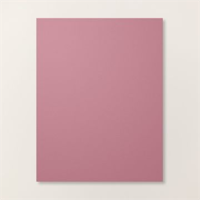
- Moody Mauve: Scraps
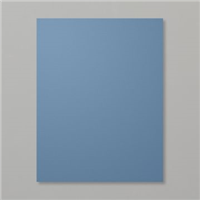
- Misty Moonlight: Scraps
- Earthen Elegance Designer Series Paper: 5-1/2” x 4-1/4” (card front), Scraps
Supplies Used:
- Stamps: Earthen Textures
- Dies: Earthen Textures, Deckled Rectangles
- Cardstock/Paper: Pretty Peacock, Very Vanilla, Moody Mauve, Misty Moonlight
- Stampin Pads: Copper Clay, Pretty Peacock, Smoky Slate, Moody Mauve, Pretty Peacock
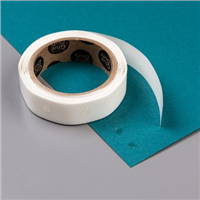
- Embellishments: Adhesive-Back Sequin Trio, Copper Clay 3/8” Textured Ribbon
- Adhesives: Dimensionals, Glue Dots, Liquid Glue, Tear N Tape, Stampin Seal
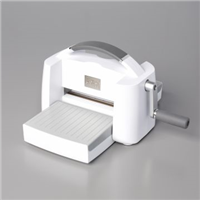
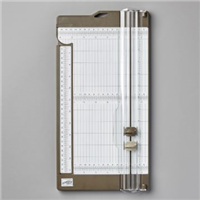
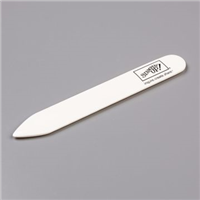
- Tools: Paper Trimmer, Cut & Emboss Machine, Clear Blocks D, G and H, Take Your Pick, Bone Folder, Paper Snip Scissors
DESIGNER SERIES PAPER SALE ALL OF JUNE

Save money during the month of June on Designer Series Paper. What a wonderful time to stock up on those papers you really like and want to try out.
CLICK FOR DESIGNER SERIES PAPER SALE FLYER
Earn Reward Points quickly for a $25 Credit
When placing an order please use the current Host Code* and earn REWARD POINTS. Once you earn 10 reward points you will receive a $25 shopping credit from me. CLICK HERE for more details.
*NEWEST HOST CODE is always located on the right side of webpage midway down.